
DIY Cabin Rules Sign – This unique sign looks great in any cabin setting and is simple to create. One thing that you will need, however, is a craft machine such as a Cricut or a Silhouette. If you do a lot of craft work, I would highly recommend getting one.

(If you’re not feeling the creative spark and just need some cool signs for your adobe, see my links at the bottom of the page for a few options that you can purchase).
Here’s the complete list of supplies needed for this project:
- Project Board (any size will do – whatever works for your space).
- Paint and rollers/brushes (for the background color).
- Cricut or Silhouette Craft machine.
- Different colors of craft vinyl for the sign letters and designs.
- Urethane finish (I used Polycyclic Satin Finish).
- Wall hanging hardware
Step One: Select the size of wood you will need to create a sign that will fit on your wall.
I used a pine craft board approximately 40″ x 12″ from one of the big box stores.
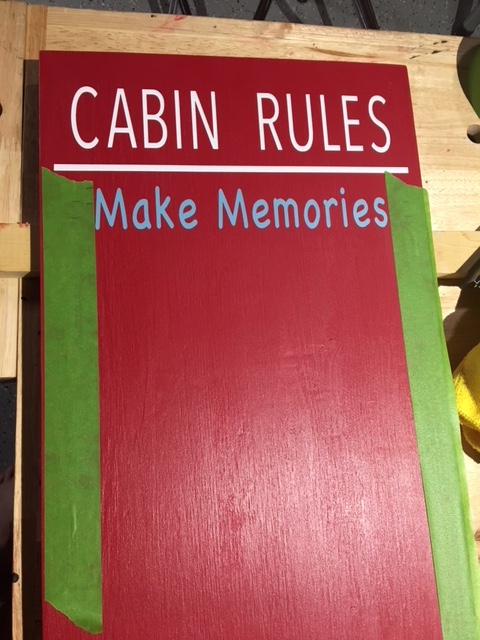
Prep the wood by cutting to your size if necessary and sanding to a smooth finish. Paint the wood in whatever color you selected for your sign’s background. I used bright red so the sign would stand out on dark cabin wall. Set the painted wood piece aside to dry.
Step Two: Now it’s time to use your craft machine, whether that be a Cricut or a Silhouette. I have a Cricut and I use it to design and create stencils for my various projects.
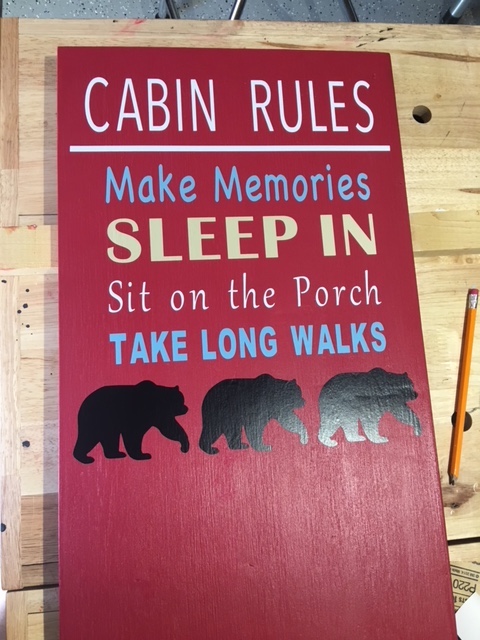
Choose several different short quotes for your sign (or just copy mine). You will want to create the quotes using different style fonts with your craft machine software. Try to use fonts that are not too similar in style. Using the measurements of your wood piece, make the font height and length size appropriate to fit on your workspace. I left about an inch and a half on each side after the quote was centered. Also, for variation use different styles, such as bold and italic on some of the quotes. Cut the quotes out using different color vinyl sheets with your craft machine. Add some pictures or designs to break up the quotes.
Step Three: Lay out your quotes and pictures before applying them to the painted wood background. I used tape and and a ruler to make sure my spacing was on target. This will ensure that you have calculated the work space properly and that everything is aesthetically pleasing. There are no rules regarding the spacing, just do whatever looks good to you.
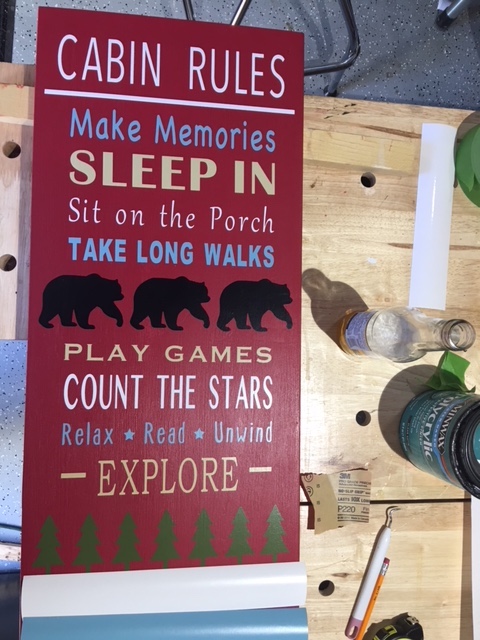
Step Four: Once all of the quotes and pictures have been added to the sign – apply two or more coats of urethane finish, let dry, and add the wall hanging hardware to the back (I used picture hanging wire and D hooks).
This project is really very simple if you have a craft machine. Good Luck!
Don’t want to spend the time making your own? Here are some very nice options you can purchase: