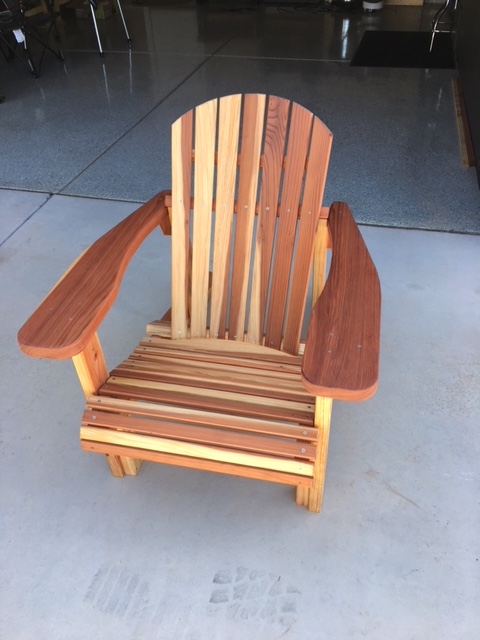
DIY Adirondack Chair – There are several free Adirondack Chair plans available online, just do a simple search and you will find many variations.
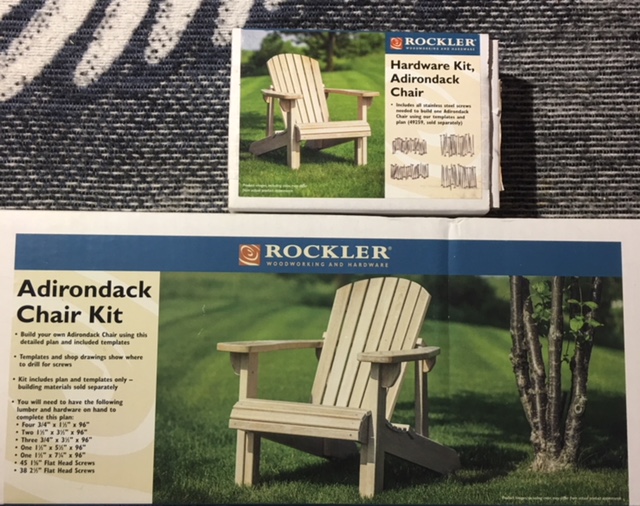
For my chairs I chose to purchase a template set from Rockler Companies. A set of screws for the chair can also be purchased for an additional fee. I liked the look of the finished product pictures and I am very happy with my own results.
You can purchase these plans here: Rockler Adirondack Chair Plans
You may also want to check out these other plan options found on Amazon:
Here’s what you’ll need to get started with the Rockler project:
Tool List:
- Jig Saw or Scroll Saw
- Mitre Saw or Table Saw
- Drill
- Tape Measure
- Sander (or a strong arm)
- Wood Clamps
- Pencil
- 11/64″ CounterSink Bit
- 5/64″ Drill Bit
Material List:
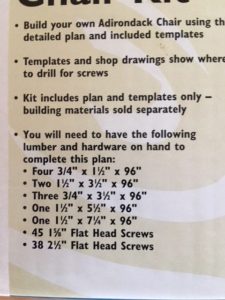
Instead of writing this out, here is an image of the lumber requirements for this chair as posted on the outside of the Rockler template kit. I used Redwood for my material because of it’s natural resistance to the elements since my chairs will be located outside. The total cost of just the wood was $130.00. Yes, Redwood is expensive!
Step 1: Using the templates provided in the Rockler chair kit, trace your chair parts on your wood pieces as indicated in the instructions and cut out with the appropriate saw. I used a Mitre saw to make all my straight cuts and a Scroll saw for the curves. I did quite a bit of sanding after the cuts to make sure matching pieces (back legs and arms) were identical in shape and size.
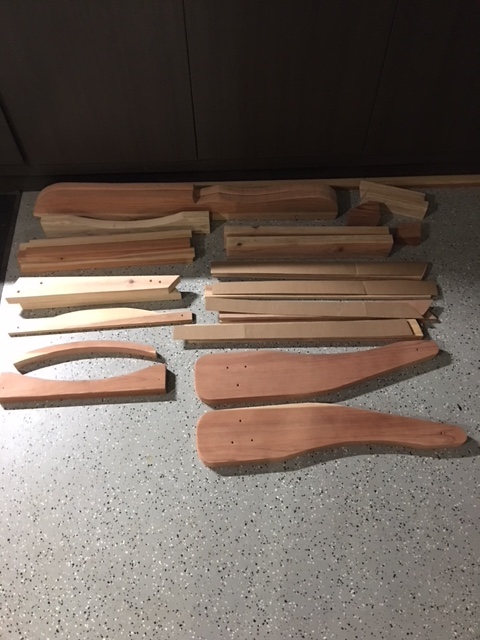
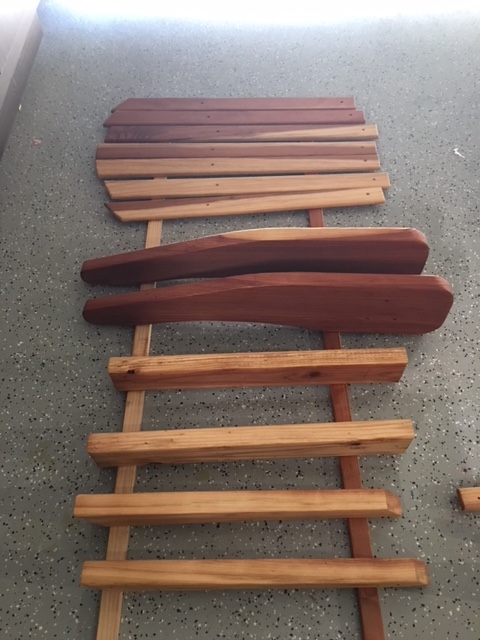
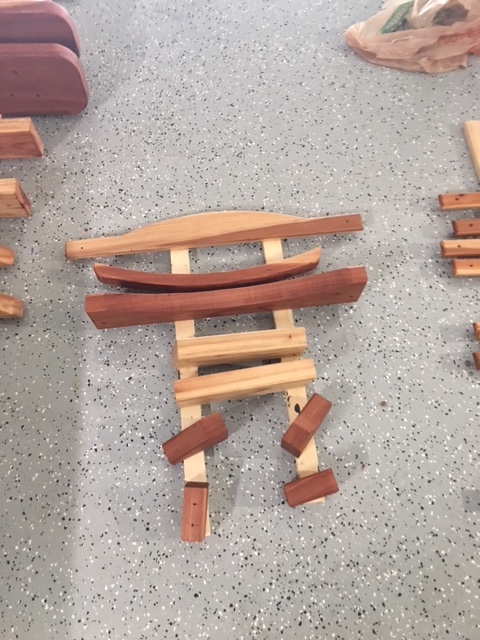
Once the pieces are all cut, repair any chips or holes with wood filler and sand smooth. Drill all of the pilot holes and screw holes as indicated on the templates. Make sure to do opposite sides for the holes on duplicate pieces. Before assembling, add a good finish that can withstand the elements if the chair(s) will remain outside. I used Watco Teak Oil and applied four good coats. Another good choice would be Helmsman Spar Urethane for a glossier finish. Make sure to really coat all end grains to prevent wear and rot from the elements. Assemble the pieces using the step by step directions in the Rockler instruction manual.
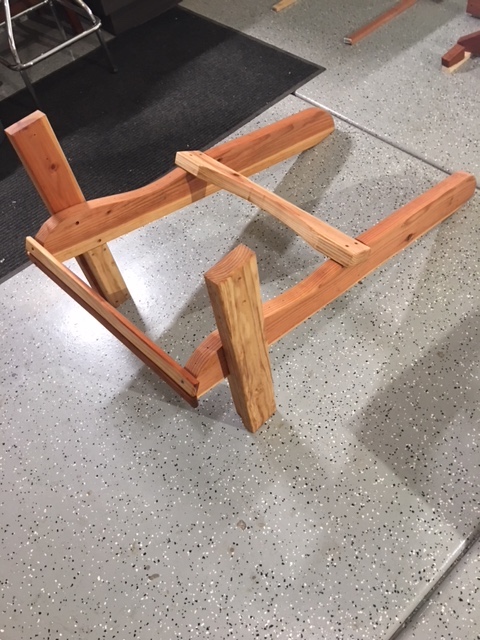
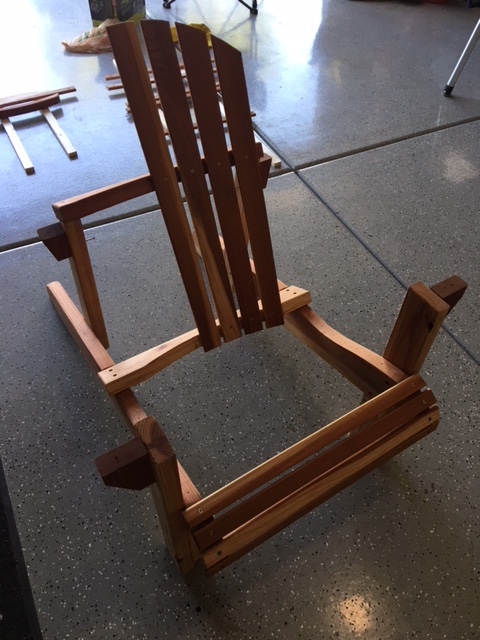
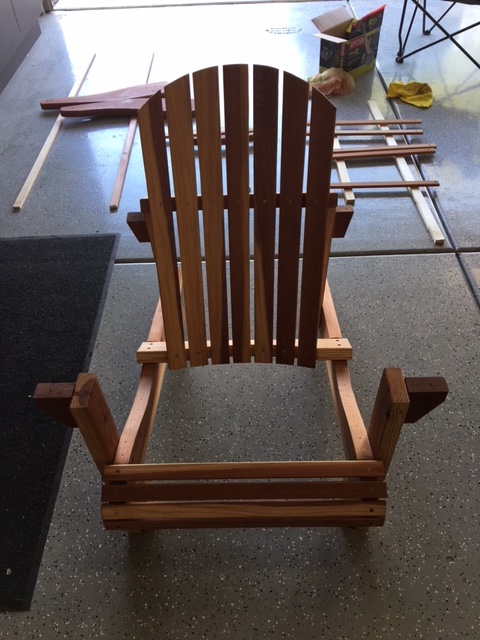
The end result is a very attractive and functional chair.
