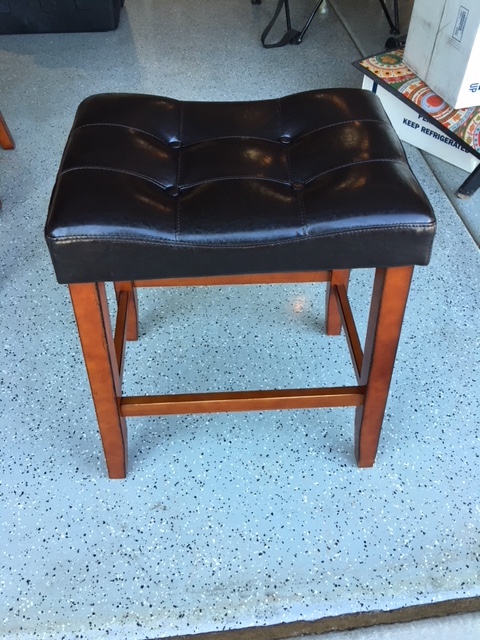
DIY Counter Stool Seat Repair – This was a quick project that I completed out of simple necessity. The necessity being that my kitchen stools kept breaking on the seat area. The stools are fairly inexpensive, around $35 each from a local furniture store. The problem is that three (out of five total) were damaged in the same place. The stools have a very solid frame, everything under the seat top, but the seat top itself was comprised of support material that is not much thicker than cardboard. So instead of buying more stools overtime one breaks, I removed the cheap top and replaced it with a solid wood top. The result is a very functional and sturdy counter stool.
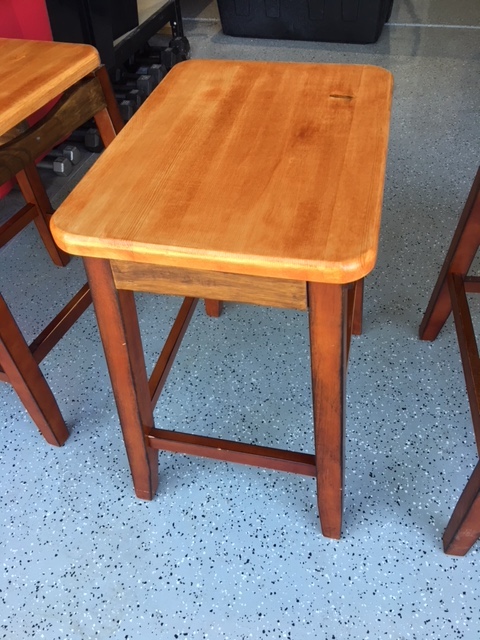
Here’s what the original stool looked like. It’s a pretty nice looking stool in my opinion, it’s just not very strong in the seat area.
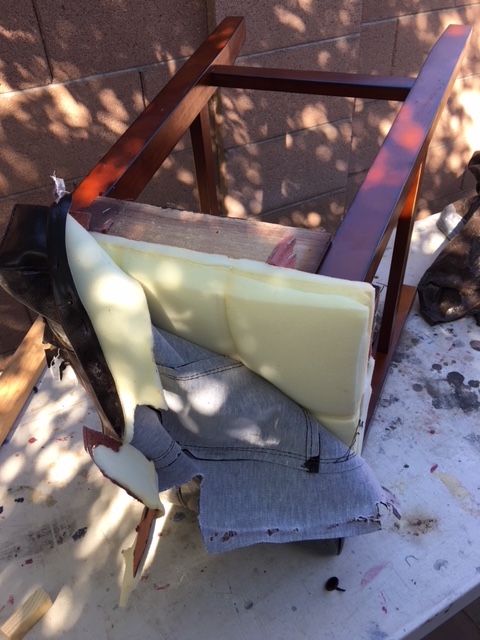
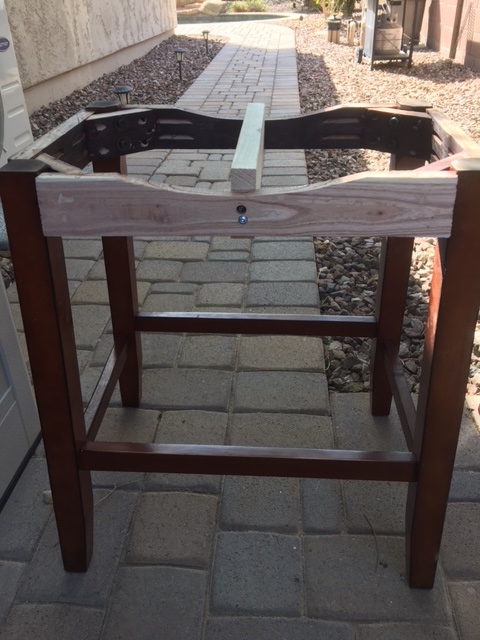
As you can see from the bottom view, and the deconstruction view, the supporting materials are very thin.

INSTRUCTIONS:
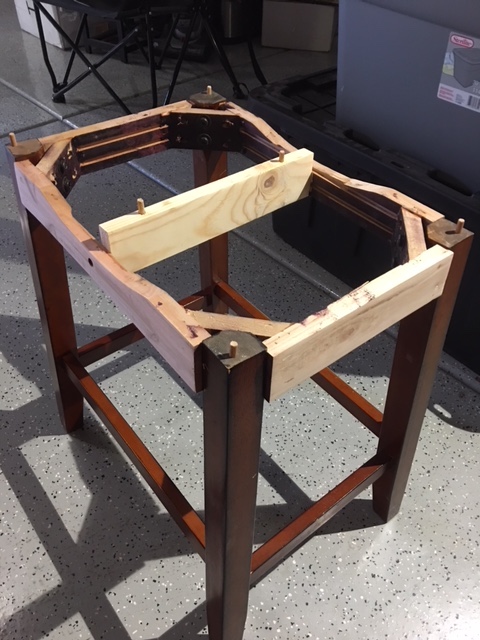
To complete this simple fix, I removed the seat tops from the stools, to include the foam padding and all the staples used to hold it together. Next, I filled any holes or defects with putty and sanded the entire top support area. The legs and bottom portion of the stools were in good shape, so I left them as is. I did add a support piece in the center of the stool top frame for additional support. The picture here depicts the stool after the removal of material and the addition of the middle support.
For the new tops, I purchased hobby boards (glued pine panel board) from one of the big box stores. The seat size I used was 15″ x 21″, which resulted in a 3/4″ overhang on all edges. I cut the tops out of the project boards and drilled holes in the stool base for wood dowels (because I did not want screws or fasteners on the seat surface). I next flipped the stool bottom upside down and placed it on top of the new stool top so I could mark the location of the dowel holes in the top piece. Once completed, I drilled the dowel holes (See pictures below).

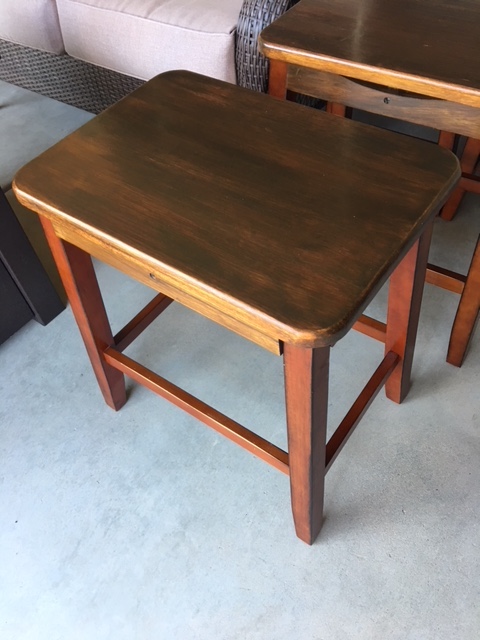
Once the dowel holes were drilled, I put the tops on the stool bottoms and secured them with glue and the dowels. I then stained the tops with Minwax PolyShades Pecan Satin Stain. This is the picture on the left below. Unfortunately my wife did not like the contrasting colors and I re-stained the tops using Minwax PolyShades Honey Gloss Stain. The final result is a very sturdy, attractive kitchen stool that will last a long time.