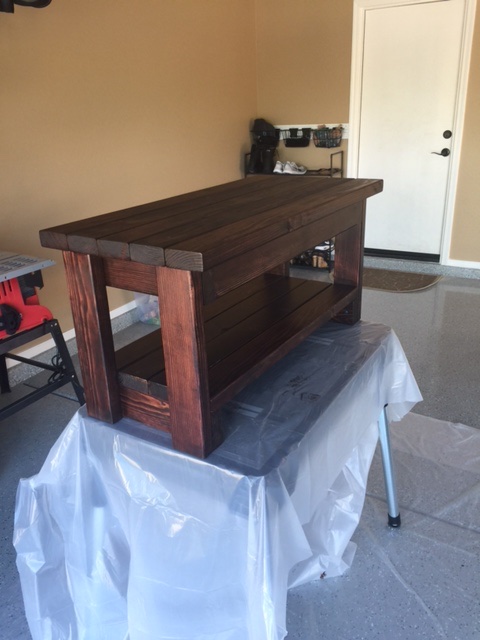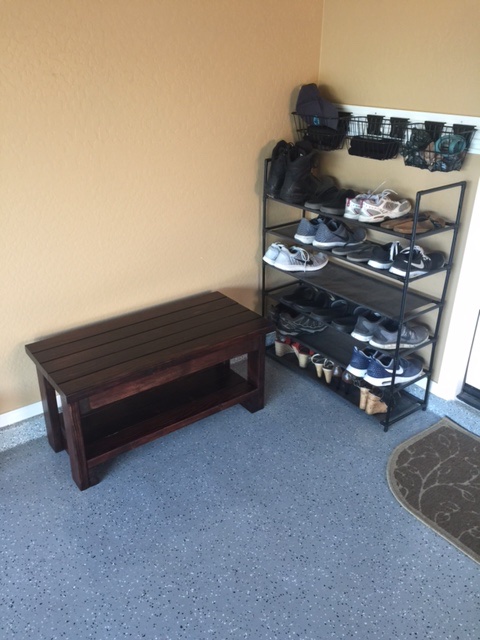
DIY Entryway Bench – I made this entryway bench at the request of my daughter, who wanted a place to sit while putting on shoes. It turned out very well, and is not only very attractive as an entryway bench, but also incredibly sturdy. My daughter gets compliments on the bench all the time, and you can easily modify the size of the bench to fit your own needs.
For my project, I made the sitting area of the bench 38″ long by 17 1/2″ wide. These numbers can fluctuate a little bit depending on where you buy your lumber and the true size of their 2″ x 4″ pieces.
The tools I used include the following:
- 10 Inch Table Saw (A miter saw would also work)
- Hammer Drill
- Kreg Jig K4 Pocket Hole System
- Kreg Pocket Hole Screws – 2 1/2″
- Sandpaper
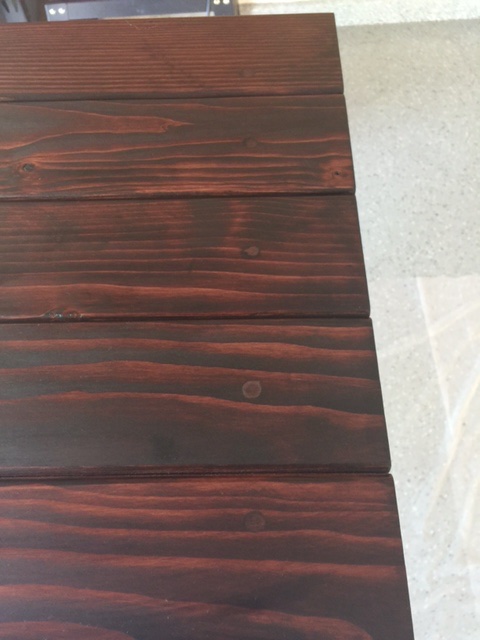
- Wood Stain – I used Minwax Red Mahogany
- Polyurethane or Polycrylic Finish – I used Minwax Polycrylic Water Based Satin for the Base and Varathane Water Based Polyurethane for the Seat (heavy use version).
- Titebond Wood Glue
- Elmer’s Probond Woodfiller
- DAP Plastic Wood Filler
(TIP: The tools and supplies listed above can be purchased directly from Amazon, which is where I get most of mine. Check out this link for current Great Home Improvement Deals).
Cut List:
- (4) Legs @ 16 1/2″
- (4) Sides @ 14″
- (5) Top @ 38″
- (4) Bottom Shelf @ 34″
- (2) Top Side Supports @ 31″
1. Cut and sand all of the pieces from the cut list above (or modify lengths to fit your needs). I have noticed it is often difficult to get good 2 x 4’s from the local Lowe’s and Home Depot. The pieces are usually picked through and the ones remaining are less than prime for furniture projects. Try to pick out straight pieces that are not cracked, don’t have too many knots, and little to no blemishes. Some imperfections enhance the look of the wood and others can be sanded or hidden from view. I started with 80 grit sandpaper, progressed to 150 grit, and finished with 220 grit.
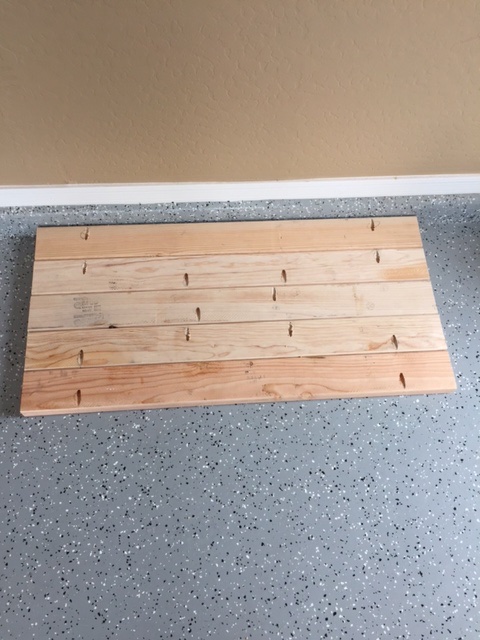
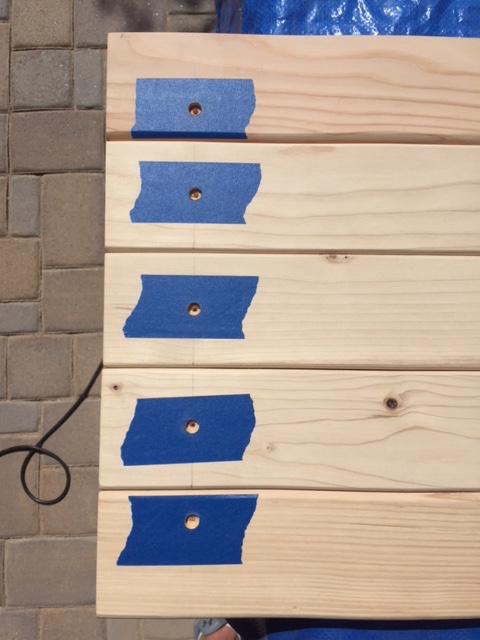
2. Assemble the bench top by connecting the five 38″ long pieces. For the seat, I wanted a strong solid piece with a clean look. To accomplish this, I used a Kreg Jig K4 Pocket Hole System to make pocket holes on the underside of the top pieces (hole locations can be seen in picture). Connect the pieces with wood glue and 2 1/2″ self tapping screws to make the bench top one piece. Add wood filler to the holes and sand to an even finish. There are several different options for wood filler so I experimented a bit. For the underside I used Elmer’s Probond Woodfiller and for the top I used DAP Plastic Wood Filler. The results are very different textures.
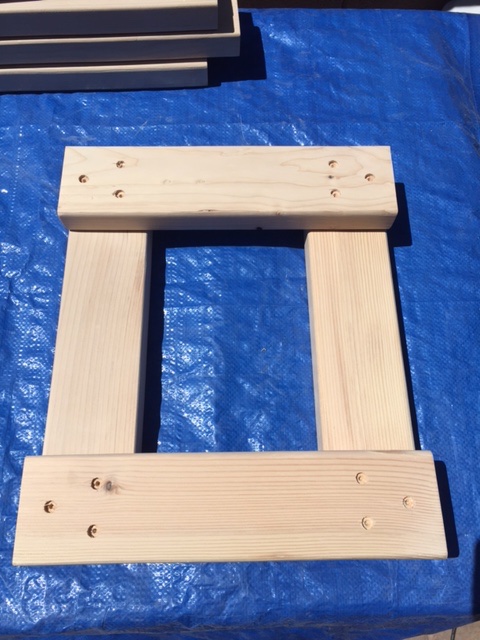
3: Assemble the legs and side. Attach the 14″ side support pieces to the 16 1/2″ leg pieces with 2 1/2″ self tapping screws and glue. I used a 3/8″ spade bid to pre-drill my holes so I could hide them with wood filler before staining. This isn’t really necessary because the top holes will be hidden from view after attaching the longer side pieces and the bottom holes are covered by the lower shelf. Lesson learned!
NOTE: At this point I stained all of the pieces before assembling. Probably not necessary and may have been better to wait and stain the whole project once completed.
4: Attach the four bottom 34″ shelf pieces to the two sides with 2 1/2″ self tapping screws and glue. The ends of these shelf pieces will rest on the lower sides to create a shelf. The total width should be equal to the width of the sides. Attach these with screws by drilling from the top of the shelf piece into the bottom side piece. This would be a good place to use the spade bit so the screws can be hidden with wood filler.
5: Attach the 31″ top side supports to the two side/lower shelf piece. The sides should be flush with the top and outer edges of the top side pieces. I used the Kreg Jig K4 Pocket Hole System to make pocket holes on the inside of the top side supports.
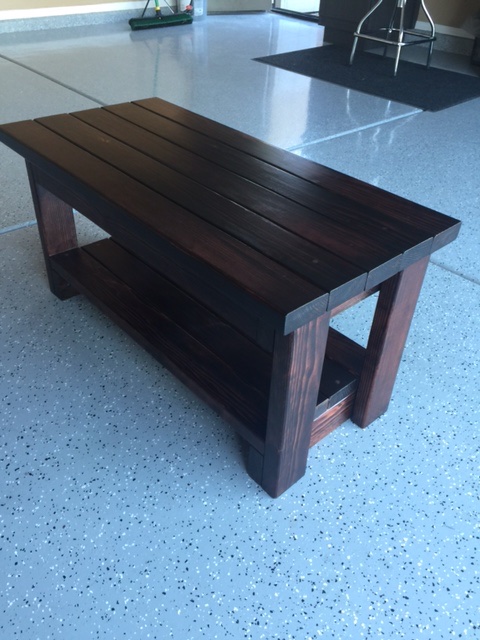
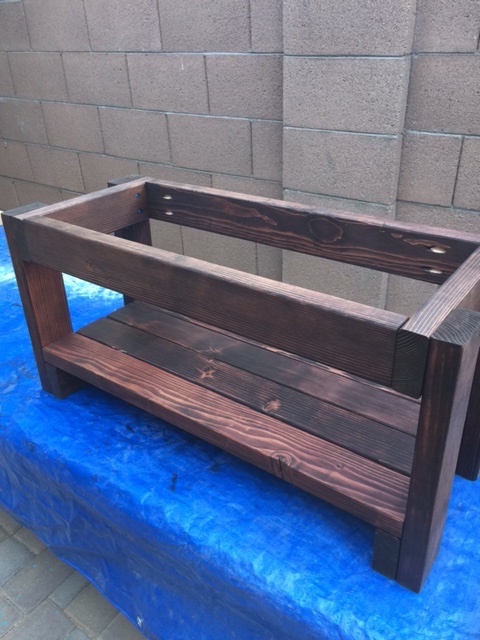
6: Once the bottom section of the entryway bench is completed, you can choose to finish it before attaching the top bench. I did this by doing all of my staining and then applying three coats of Minwax Polycrylic Water Based Satin. I thought it would be easier to finish the bottom before the bench seat was added. I did notice that the Polycrylic was prone to scratches so for the bench seat piece I used a more durable finish. The one I chose was Varathane Polyurethane Heavy Use Clear Satin. The finish was a bit glossier than the Minwax but does seem to provide better protection.
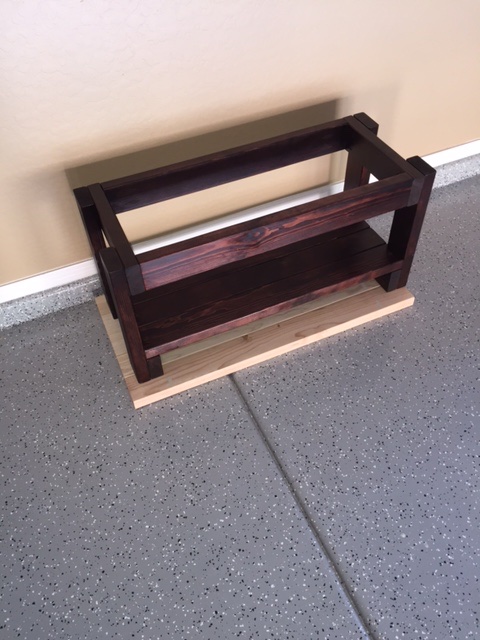
7: Add the top bench seat to the bottom completed piece by positioning so it overhangs the bottom piece evenly on all sides (this should be at or close to 1/2″ on the ends and 1 3/4″ on the front and back (these may be off a bit if the wood width is not the true width of a 2 x 4 – e.g. some 2 x 4’s are not a full 3 1/2″ wide). Screw the bench seat down into the top of the 14″ side support pieces using 2 1/2″ self tapping screws and glue. Because this is the most visible location of the entryway bench, I took some extra steps to protect the wood and hide the screws. I applied blue painter’s before drilling my holes to prevent the wood face from splintering. In addition, I filled each hole with DAP Plastic Wood Filler before sanding and staining. I did find that the DAP Wood Filler did not stain as easily as the Elmer’s Probond Woodfiller and it was necessary to stain it with an extra coat.

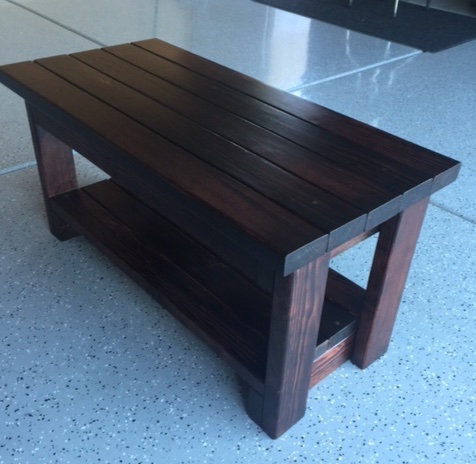
8: Finish up by applying three coats of protective urethane or polycrylic.